Worried your bike isn’t safe to ride? Use this basic bike maintenance checklist: check air, brakes, chain and quick releases, then take a slow test ride before every trip.
This page belongs to the site’s wider coverage of social enterprise cycling.
| Check | Value |
|---|---|
| Brake pad wear limit | Less than 1/8 inch of pad left: probably needs replacing |
| Lever-to-handlebar gap with brakes applied | At least 1 inch |
| Tire pressure gauge check | At least once a week |
| Drop test height | About 6 inches |
| Starter toolkit | 10 items |
| Tune-up on a new bike | After the first few weeks of riding |
These figures come from guidance by Cascade Bicycle Club and HUB Cycling, among others, and they can change: check the source before you rely on them.
The ABC Quick Check in plain terms
The ABC Quick Check is a short routine that cycling groups recommend before riding. BikePGH says it should be done every time before you ride, and it needs no special skill to start.
The letters stand for the parts of the bike to look at, in this order:
- A is for air in the tires.
- B is for brakes.
- C is for cranks, chain and cassette.
- Q is for quick releases.
- Check is for a slow test ride.
Cascade Bicycle Club frames it as a pre-ride safety check meant to keep a ride safe and efficient. It also says that if you don’t know how to make an adjustment or repair, you should head to your local bike shop before you ride.
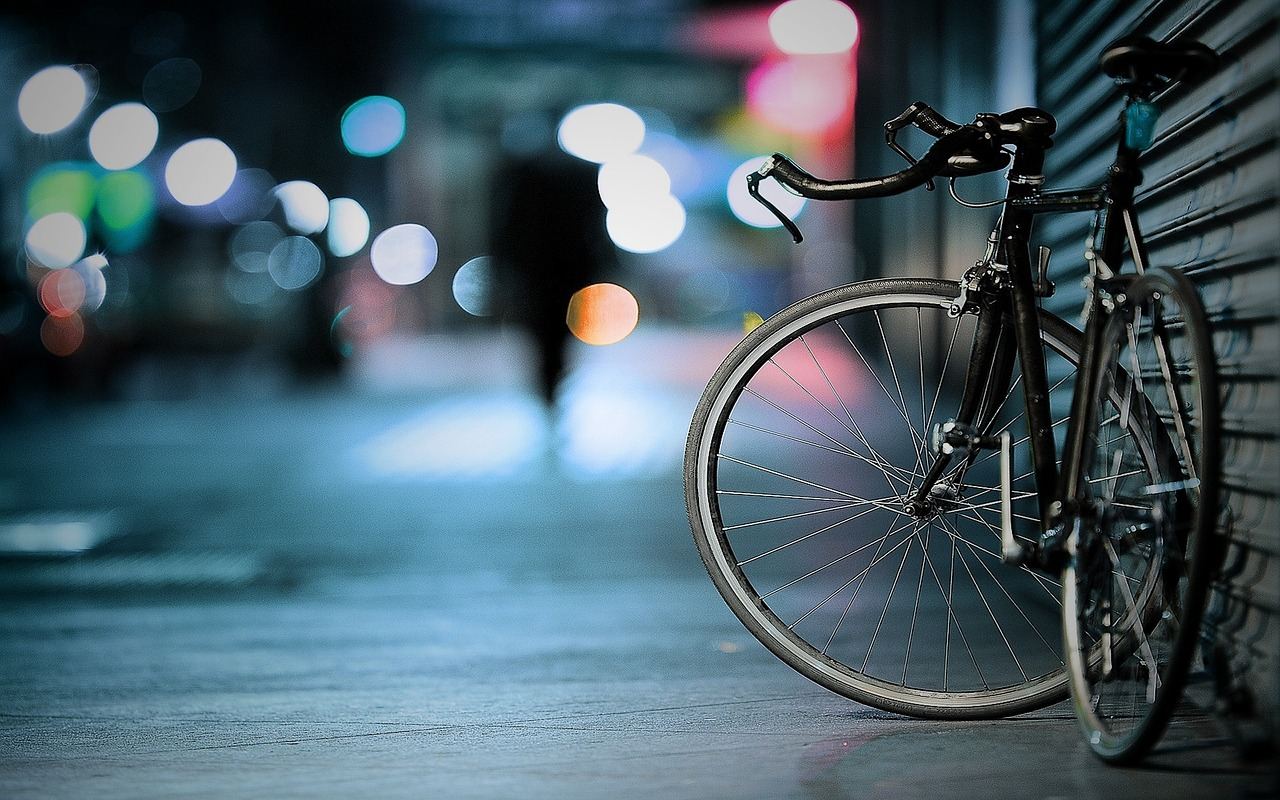
Air: check your tires
Start with tire pressure. Cascade says tires should be inflated to the pressure noted on the sidewall, and BikePGH adds that the figure is often in small print, so look for it in good light and confirm it with a gauge.
A quick squeeze helps too. HUB Cycling says tires should feel hard like a potato, not soft like a tomato, because soft tires make pedaling harder and a flat more likely.
Don’t rely on feel alone. The City of Little Rock notes that tires may not be properly inflated even if they feel firm, especially road bike tires, and suggests checking with a gauge at least once a week.
While you are down there, look at the rubber itself. BikePGH advises checking for cuts and signs of dry rot on the sidewalls and tread.
Bike maintenance for brakes: pads and levers
Look at the brake pads first. Cascade says that if there is less than 1/8″ of brake pad left, they probably need replacing, and that the pads should line up with the wheel rim when the brakes are applied.
Next, squeeze and release each lever. Cascade says levers should work easily and snap back, and both Cascade and the Bicycle Alliance of Minnesota say there should be at least 1 inch between the lever and the handlebar with the brakes applied.
Two more simple tests are worth adding:
- Spin each wheel and check that the rim does not rub on the pads, as BikePGH suggests.
- Test one brake at a time. HUB Cycling notes that the right lever controls the rear brake and the left lever controls the front brake.
If the pads are clean, not worn and well adjusted but still squeak, Cascade says the brakes may need to be “toed in” correctly. That is a good job to hand to a mechanic if you haven’t done it before.
Cranks, chain and cassette
Grab each crank arm and try to move it sideways, away from the frame. Cascade says loose cranks can be tightened with a crank wrench, and a local bike shop can do it if you don’t own one.
The chain comes next. Cascade says it should look like metal, not rust or black gunk, and the Bicycle Alliance of Minnesota says it should not be oily but not completely dry either.
Turn the pedals backward and watch the chain run through the gears. HUB Cycling suggests crouching down and listening: a fairly quiet click is normal, while loud clicking or crunching is worth a visit to a mechanic. It also recommends a quick look at brake and shifting cables to make sure none are tangled, torn or frayed.
Quick releases and the drop test
Many bikes use quick release levers on the wheels, the brakes and possibly the seat post. Cascade says to check that all of them are secured before each ride.
The Bicycle Alliance of Minnesota gives specific cues for the wheels:
- A hub lever that is tight enough should leave a slight indent in your palm when you close it.
- Hub levers should point toward the back of the bike so they don’t catch on anything and release the wheel.
- Brake quick releases should be closed so the brake cables are re-engaged.
Then try the drop test described by HUB Cycling. Lift the bike by the seat and handlebars about 6 inches off the ground, drop it straight onto the tires and listen for rattles. Ideally nothing should rattle apart from the rear derailleur, and a rattle can point to a loose stem, headset, wheel or chain.
Finish with the check ride. Cascade says to ride slowly for a few moments as you set out and confirm the bike is working properly.
A starter toolkit and when to see a mechanic
HUB Cycling lists 10 items that could start a basic toolkit to carry with you:
- Tire levers, two or more
- Patch kit
- Spare tube
- Hand pump
- Multi-tool
- Adjustable wrench
- Rags
- Emergency lights
- Bungee cords or zip straps
- Transit pass or card
Some jobs are better left to a professional. HUB Cycling suggests a mechanic when a noise persists and you can’t find its source, when something breaks and you don’t know the fix, or before a big ride. It also says most bikes with traditional cable systems need a tune-up after the first few weeks of riding.
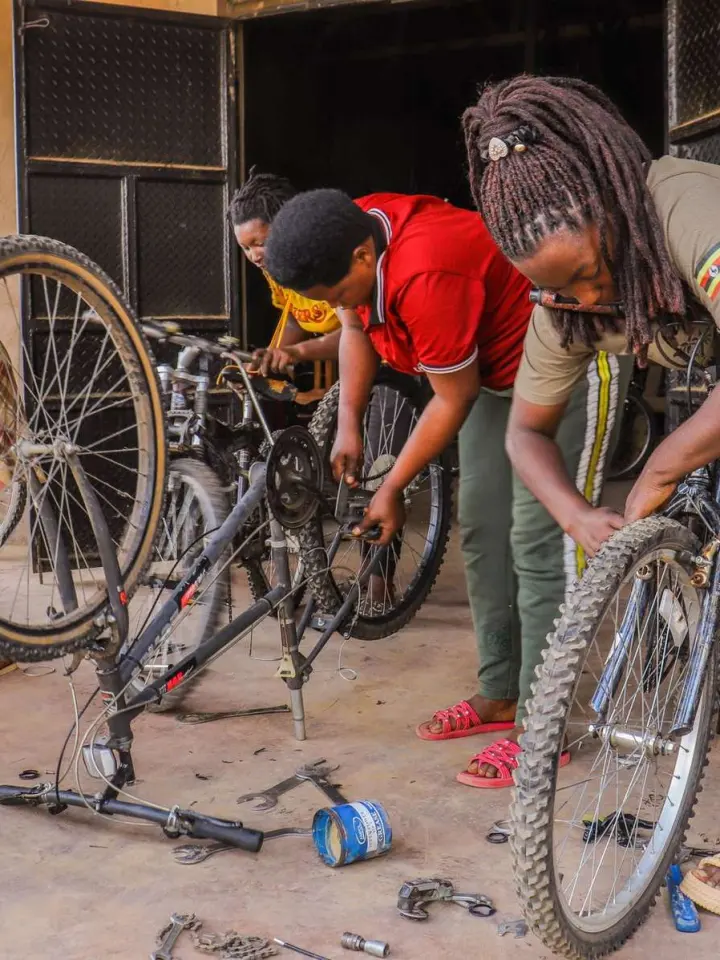
The City of Little Rock adds that a bike that hasn’t been ridden for several months may be worth taking to a local shop for inspection. A social enterprise bike shop is one type of local shop you could look into for that.
If you are still choosing what to ride, the guide on how to choose a commuter bike covers the buying side.
Frequently asked questions
How often should I do the ABC Quick Check?
Show answer
BikePGH says to do it every time before you ride. Separately, the City of Little Rock suggests checking tire pressure with a gauge at least once a week.
Is squeezing the tire enough to check the air?
Show answer
Not always. The City of Little Rock notes that tires, especially road bike tires, may not be properly inflated even when they feel firm, so a gauge is the safer check.
Do I need special tools for these checks?
Show answer
Most of the check is visual and by hand. Cascade mentions a crank wrench for loose cranks, and HUB Cycling lists a basic toolkit for repairs on the road.
What should I do if something looks wrong and I can’t fix it?
Show answer
Cascade says to head to your local bike shop before you ride. If you feel the bike is unsafe, BikePGH gives the same advice.