Got a hole in your favourite shorts? You can fix it. How to repair cycling clothing comes down to a clean, dry garment, a slightly larger patch and strong stitches, or a no-sew patch for quick fixes.
Repair is one part of the wider picture in our guide to sustainable cycling clothing, and it starts with a needle and thread.
| Item | Value |
|---|---|
| Gap left in the patch for turning it right side out | About an inch and a half |
| Patch size compared with the hole | Slightly larger than the hole |
| Straight stitch length for the patch | Between 1mm and 2mm |
| Passes over each seam | At least three times |
| Sandpaper for PU or rubberised material before a no-sew patch | 120 grit or finer |
These figures come from a Velofanatics sewing guide posted on 27 January 2023 and a Condor Cycles repair guide. Advice and figures can change, so check the source before you rely on them.
Prepare the garment before you repair it
Turn the garment inside out and make sure it is clean and dry. The Velofanatics guide points out that you don’t want to sew a sweaty garment.
Next, decide which kind of repair suits the damage. The two guides point to two routes:
- A hole in lycra shorts, such as a split at a seam, is a job for a sewn patch.
- A tear in a rain jacket, or a split in a bag, can often be handled with a no-sew patch.
- A repair you need on the road is a good case for a no-sew patch, because it needs no stitching.
For a sewn repair, gather the following before you start:
- Strong thread and a needle, or a sewing machine that holds its tension well.
- Pins and a sheet of paper for a pattern.
- Spare stretch fabric for the patch.
How to sew a hole in lycra shorts, step by step
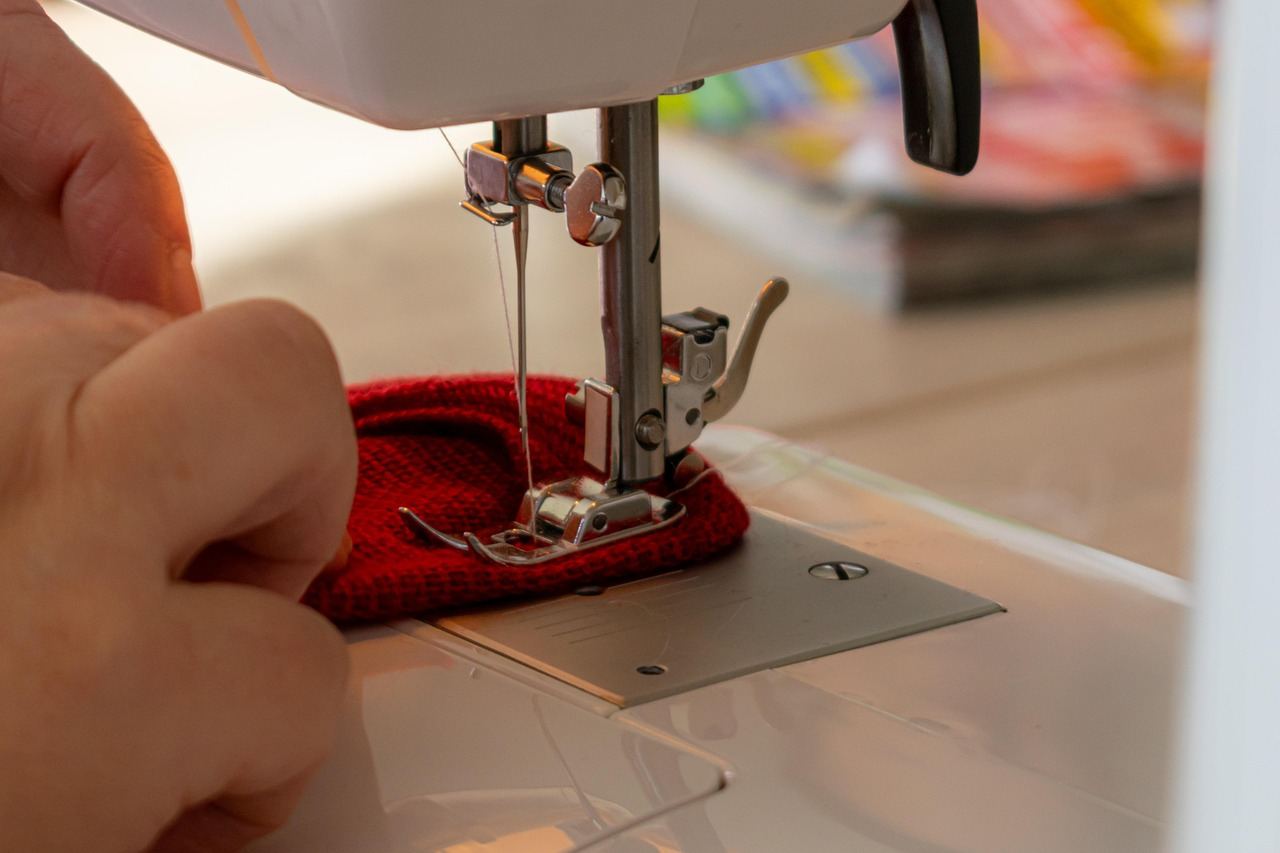
The Velofanatics guide describes a fabric patch sewn over the hole. The author says the method works on just about any pair of lycra cycling shorts.
- Turn the shorts inside out and check they are clean and dry.
- Mark the size of the hole on paper, then cut a larger piece of paper around it to make your pattern.
- Cut the patch from fabric so it is slightly larger than the hole. That way it covers any gaps.
- Stitch around the edge of the patch, leaving a gap of about an inch and a half so you can turn it right side out.
- Turn the patch right side out through the gap, then press it flat, folding in the opening.
- Hand baste the edges of the hole back together. Basting holds things together temporarily while you sew.
- Turn the shorts right side out and position the patch over the hole so it lines up properly.
- Pin all layers together along the edges of the patch.
- Sew along each edge, removing the pins as you go.
The guide is a single retailer blog post and some of its wording is loose, so treat it as a starting point. Take your time lining up the patch before you commit to the final stitching.
Stitching tips that help a repair last
Sewing lycra can be tricky, but the guide says good tools and a little patience will let you fix your favourite shorts at home. A few habits make the difference:
- Strong thread: the guide says it needs to withstand some friction with cycling shorts.
- Stitch choice: use either a straight stitch or a zigzag stitch. The author prefers zigzag because it is faster.
- Stitch length: for a straight stitch, the guide suggests a length between 1mm and 2mm.
- Repeat passes: go over each seam at least three times so it is strong enough.
- Machine tension: if you use a machine, pick one that holds its tension well.
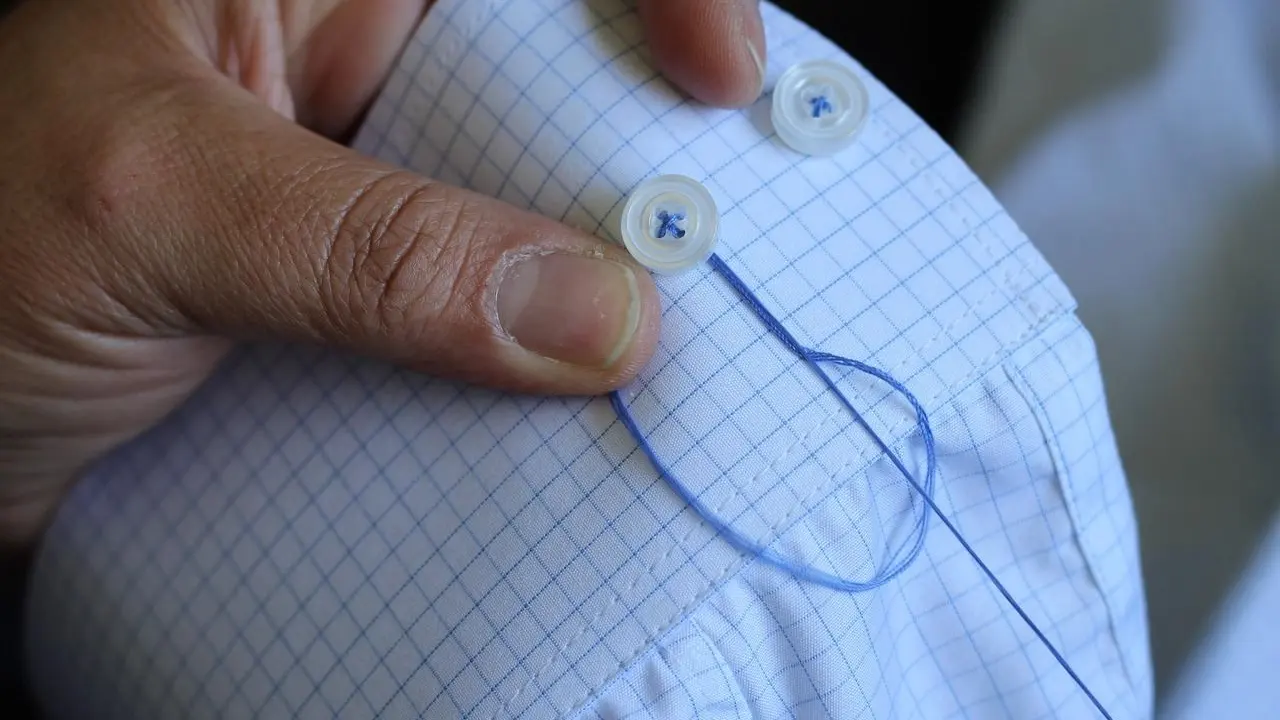
You can also hand-sew the patch with a needle and thread if you don’t have a machine. The guide mentions that a machine is an option for anyone feeling ambitious.
No-sew patches for jackets, packs and trips
The Condor guide says DIY repair patches are available for both clothing and bags, in options for different materials. They are easy to use and need no stitching. Because they are easy to carry, they suit a trip or holiday where you may need to make a repair on the go.
The guide names two examples. Gear Aid’s Tenacious Tape is listed for rain jackets and rain pants, insulated jacket shells, tent flies and sleeping bags, and it is described as very lightweight. Tip-Top Complast is recommended by Ortlieb for heavier PVC and PU fabrics, such as pannier bags and the welded seams on bike-packing bags.
Preparation matters as much as the patch itself. The guide lists these tips:
- Clean and remove loose dirt before you apply a patch.
- Use isopropyl alcohol or rubbing alcohol to clean the heavy-weight fabric used on bags.
- Use 120 grit or finer sandpaper to gently sand PU or rubberised material, which gives the patch something to grip.
Why repair instead of replace?
The Condor guide frames repair as a way to save money, cut down on waste and keep your kit lasting longer. A patched pair of shorts stays in use for another season.
Repair also sits alongside the choices you make when you do buy. If you are weighing labels, our explainer on fair trade clothing certification covers what they do and don’t tell you. Most cycling kit is synthetic, so it is also worth reading about microplastics from synthetic clothing when you decide how to care for it.
Frequently asked questions
Can I repair lycra shorts without a sewing machine?
Show answer
Yes. The Velofanatics guide says you can hand-sew the patch with a needle and thread, and that a machine is optional.
Do I have to sew a torn rain jacket?
Show answer
Not necessarily. The Condor guide says DIY patches are easy to use and need no stitching, and it lists Gear Aid’s Tenacious Tape for rain jackets and rain pants.
Should the patch be smaller or larger than the hole?
Show answer
The Velofanatics guide says to make the patch slightly larger than the hole, so it covers any gaps and makes a better repair. The guide also contains a contradictory line saying smaller, so go with the larger patch.
What stitch should I use?
Show answer
The guide says either a straight stitch or a zigzag stitch works. For a straight stitch it suggests a length between 1mm and 2mm, and it advises going over each seam at least three times.